Curved Surfaces Made Easy
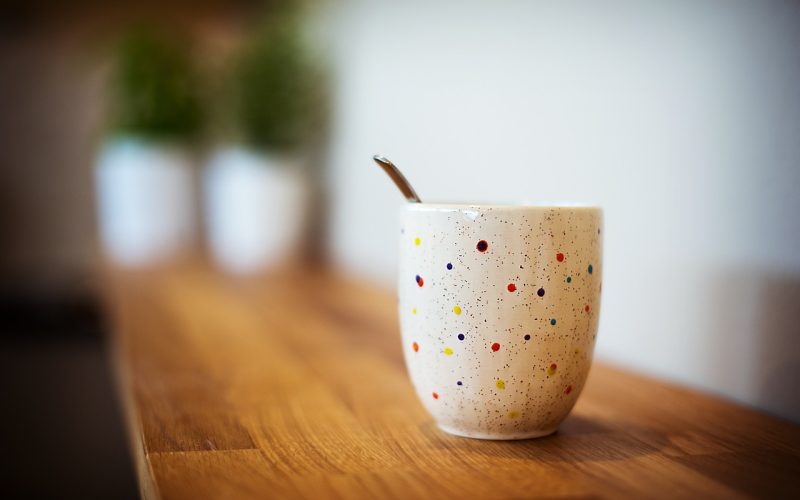
Applying a flat design to a curved object can feel like trying to wrap a football with a square piece of paper. For crafters and small businesses decorating bottles, tumblers, and mugs, the challenge is real. Wrinkles, bubbles, and skewed graphics can ruin an otherwise perfect product. However, with the right techniques and materials, you can achieve a professional, seamless finish every time. This guide will walk you through the process of applying decals to curved surfaces, from choosing the right type to ensuring long-lasting adhesion.
Understanding the challenges of curved substrates
The primary difficulty with bottles and tumblers is their geometry. A flat decal simply does not want to conform to a convex or compound curve without some persuasion. This leads to three main problems: distortion, alignment, and adhesion. A graphic that looks perfect on its backing paper can stretch or compress when wrapped, altering its appearance. Aligning the decal so it appears straight is also tricky, as the curve can create optical illusions. Finally, without proper application, air and water get trapped, causing bubbles, tunnels, or a hazy effect known as "silvering," which compromises the bond and the look.
Choosing the right decal for your project
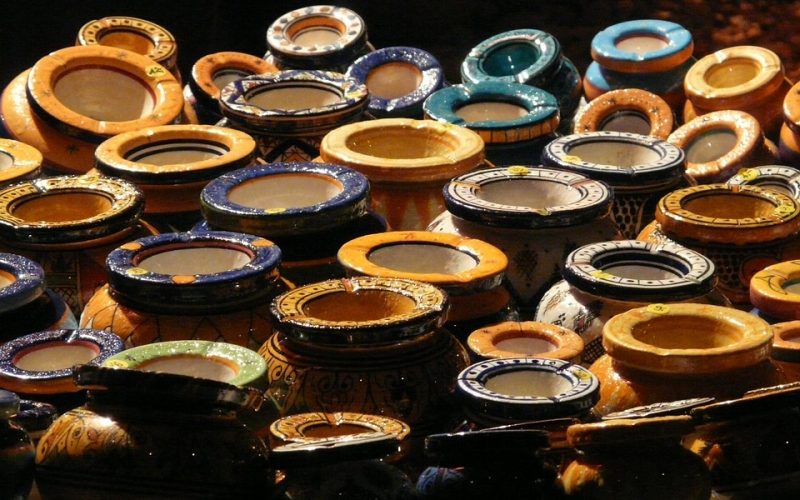
The success of your project starts with selecting the appropriate decal. The most common types each have specific uses. Water-slide glass decals and ceramic decals are printed on a special paper with a water-soluble adhesive layer. After a brief soak in a water tray, the decal film slides off the backing and onto your item. These are excellent for intricate, full-colour designs. For ultimate durability, such as dishwasher resistance, these decals often require firing in a kiln, which fuses the decal to the surface. In contrast, pressure-applied screen printed transfers function more like high-quality stickers. They are applied dry and rely on firm pressure to adhere, and are robust and ideal for bold, single-colour logos or text.
Essential tools and surface preparation
Before you begin, it's important to gather a few key tools and prepare your item correctly. For all decal types, a flexible squeegee or a soft silicone roller is essential for smoothing the decal and removing bubbles. For some pressure-applied transfers, a heat gun helps soften the material to make it conform to tight curves. The most critical step, however, is preparation. The surface must be impeccably clean for proper adhesion. You should wipe the bottle or tumbler thoroughly with isopropyl alcohol to remove any oils, dust, or fingerprints that could interfere with the bond.
A step-by-step guide to flawless application
With your surface prepped, it is time for application. For precise placement, you can use the "hinge method" by securing one edge of the decal to the object with a piece of low-tack tape. This creates a flap that you can lift to remove the backing while keeping the alignment perfect. If using a water-slide decal, submerge it in lukewarm water until the film begins to loosen, then slide it from the backing paper onto the surface. For a pressure-applied transfer, lift the hinged decal, peel away the backing, and slowly lower it, applying pressure from the centre outwards. Use your squeegee or roller immediately, working from the middle to the edges to push out all water or air. This methodical approach is your best defence against wrinkles and bubbles.
Tips for tackling tapered and complex shapes
Tapered objects, like pint glasses or some tumblers, present an extra challenge. A standard rectangular decal will inevitably wrinkle as it wraps around a conical shape. To overcome this, you can make small "relief cuts" along the top and bottom edges of the decal, which allow it to overlap slightly and lay flat. For very large graphics on complex curves, consider segmenting the design into two or more smaller decals that are easier to manage. Applying a decal to a simple cylinder is straightforward, but a double-curved shape like a vase requires more patience, often benefiting from gentle heat from a heat gun to make a pressure-sensitive decal more pliable.
Curing, firing, and final aftercare
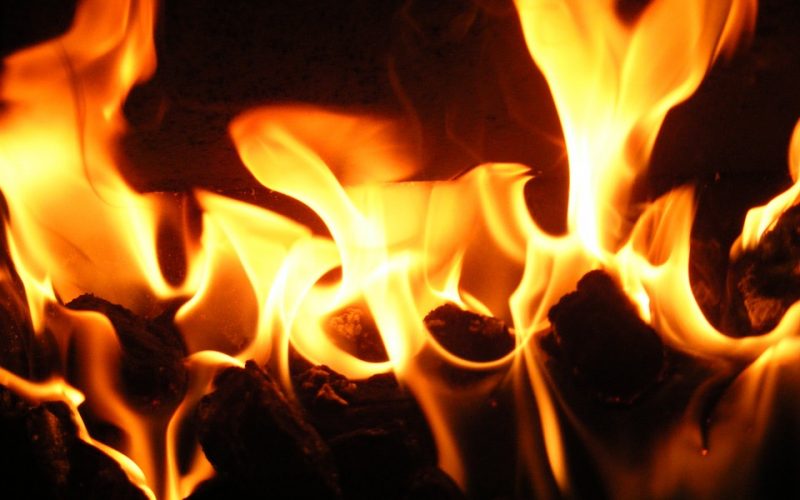
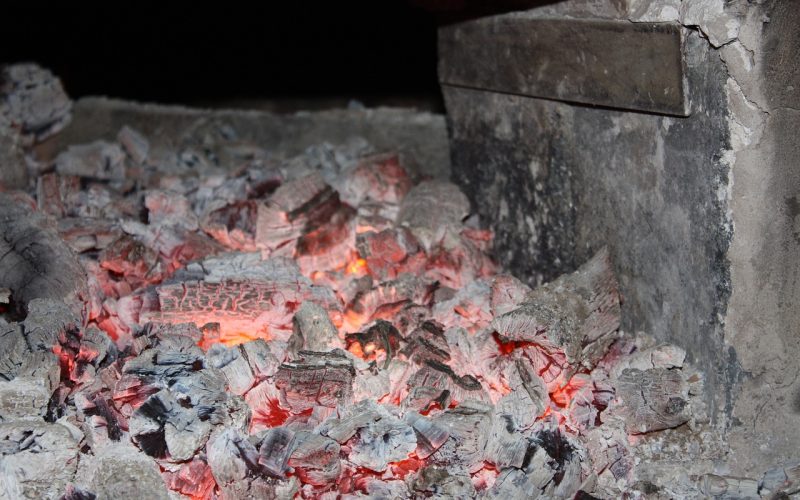
The final step is to ensure the decal is permanently bonded. Many pressure-applied screen printed transfers and craft-grade water-slide decals simply need to air-cure for 24–48 hours to fully set. However, for a truly permanent, food-safe, and dishwasher-safe finish on glassware and ceramics, firing is necessary. Specific ceramic decals and glass decals are designed for this process, so you must always follow the manufacturer's instructions for firing temperatures and times. For any decals that are not fired, gentle hand-washing is recommended to preserve the integrity and vibrancy of your design for years to come.